# Setting up your receipt printer
## Step 1 - Connect your hardware
Ensure your Star printer is connected to the mains electricity and a working internet connection is connected via the Ethernet port.
Connect your barcode scanner in one of the USB ports.
Connect your customer display (optional) to the other USB port.
Connect the cash drawer to the interface at the back of the printer also.
---
## Step 2 - Finding the printer's IP address
Turn off the Star printer.
Press and hold the feed button.
Turn the printer back on.
Continue to hold the feed button until the configuration report prints out and then let go. Then, wait a little longer for the Network report to print.
Confirm the printer IP address (at the bottom). An example IP address would be: 192.168.1.73
---
### Step 3 - Access the printer’s setup screen
Enter that IP into a web browser's address bar to access the configuration screen.
---
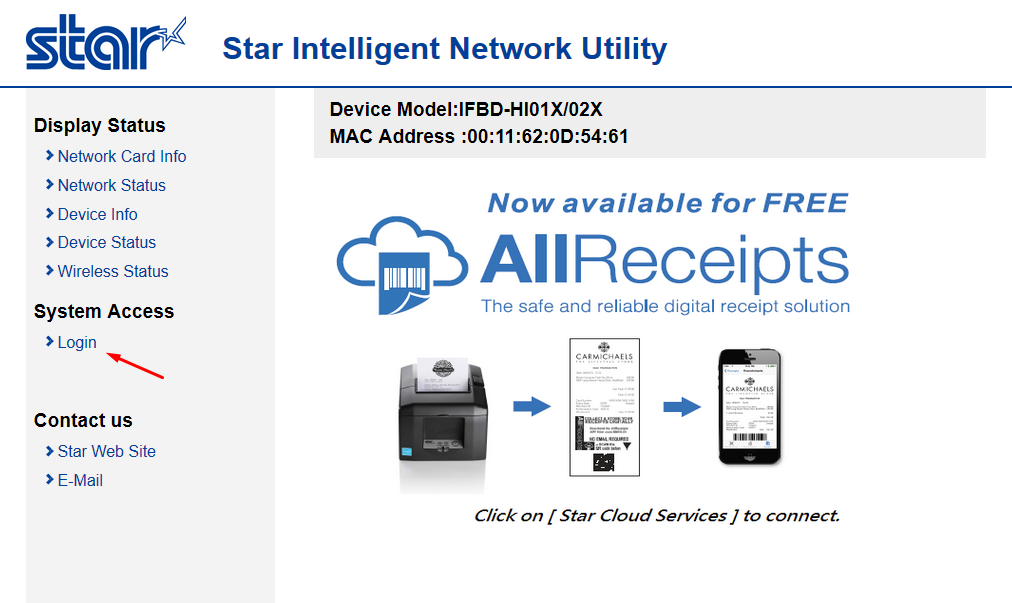
#### Step 4 - Login
The default login for Star CloudPRNT printers is “root”. Use the password “public”
You can set your own password later if you wish.
---
---
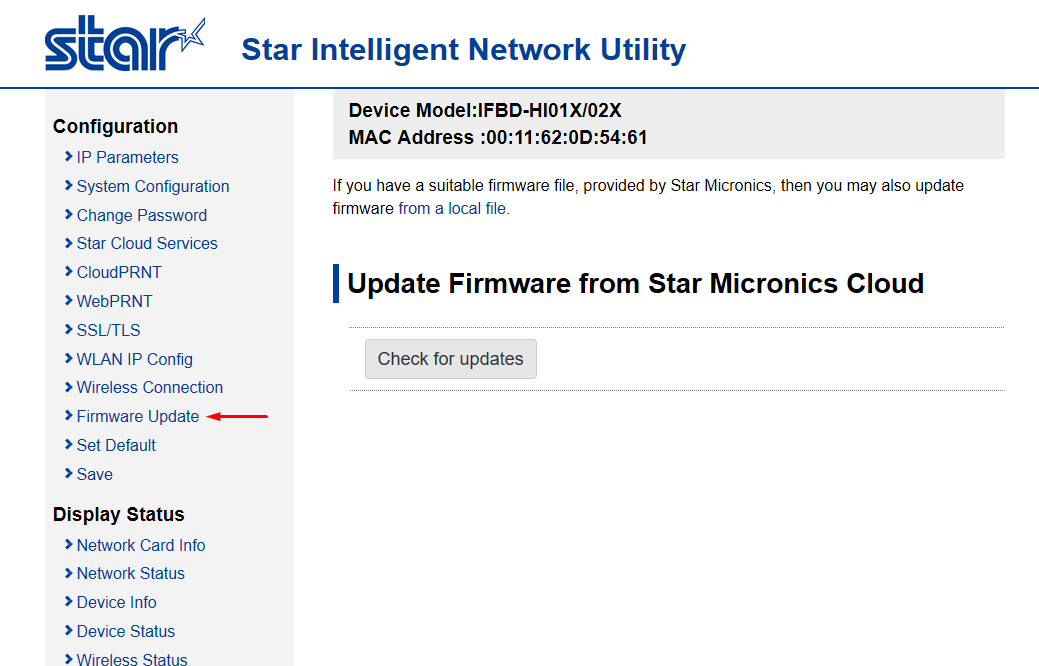
##### Step 5 - Ensure your Star printer is up-to-date
After logging into your Star printer for the first time, check that it’s firmware is up to date. Simply click “Check for updates” and wait for the download to finish (if applicable).
---
---
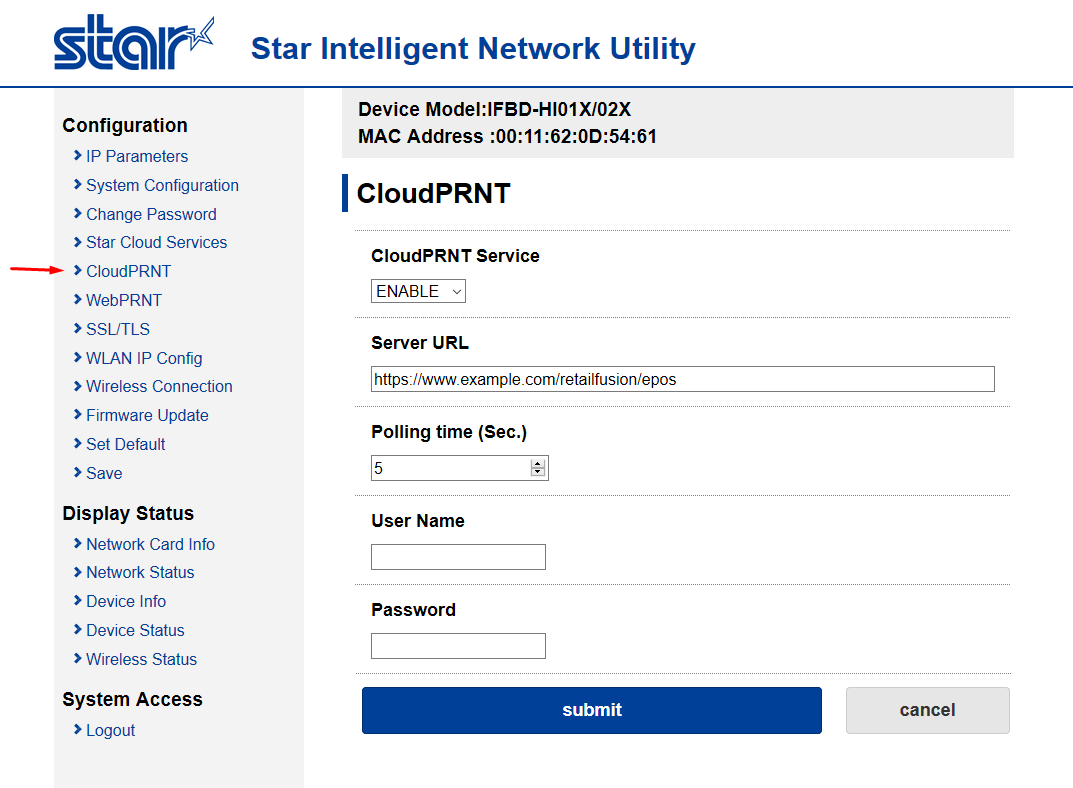
##### Step 6 - Enable CloudPRNT
Click on “CloudPRNT” in the left menu. Enable the service and enter the server URL as provided by Iconography.
Leave the poll time set to 5 seconds (the default).
Enter a username and password if Iconography has provided one, otherwise leave blank.
---
---
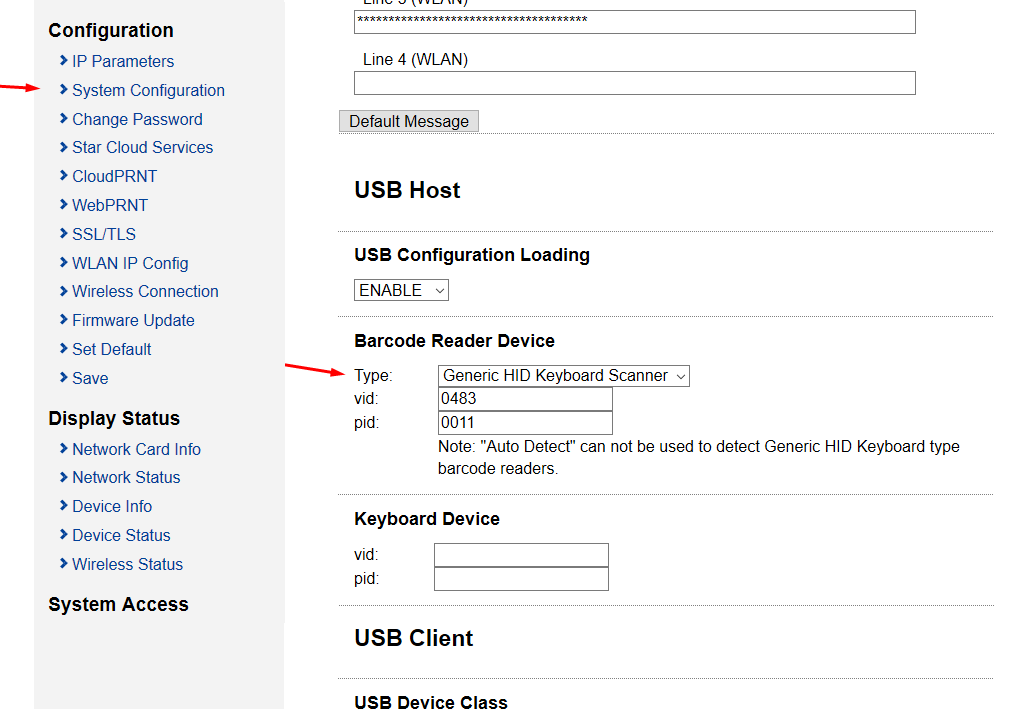
##### Step 7 - Set up your barcode scanner
Finally, select which barcode scanner you are using. Click on System Configuration and scroll down to the “Barcode Reader Device” section.
If you are using Star’s mPOP scanner, simply select this from the dropdown list.
Otherwise, select Generic HID Keyboard Scanner.
If you are using a Generic HID Keyboard Scanner, you’ll need to know the VID and HID values for your device. Enter those here. These values can also be found by connecting your device to a Windows PC and viewing the hardware properties tab.
---
---
Your EPOS hardware is now ready to use.