
Images
This may be used as an Import or an Export option.
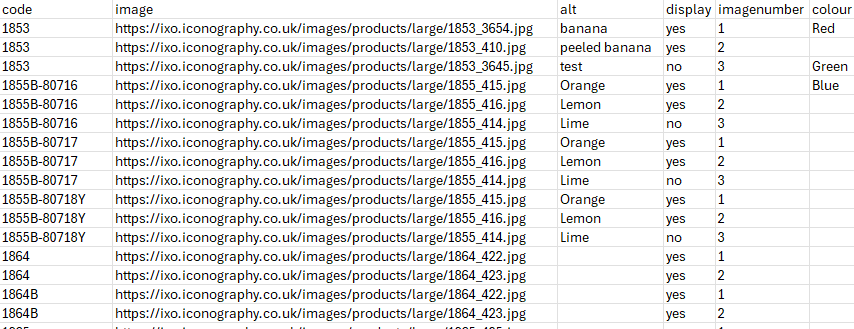
The file looks like this:
Export
Use the filters to narrow your selection, then click 'Export'. This will generate a file that will include all Images for Products that match your filters.
One Product may have multiple images, in which case these will be split over multiple lines.
Import
Make changes to the file and import it to update Products. If the image does not exist, a new one will be imported.
| Field | Purpose |
|
Code |
The SKU Code of the Variant to which the Images are linked |
| Image |
The link to the image.
If importing from a URL, enter the full URL, e.g. www.example.com/image.jpg
If importing from the server via FTP, just enter the image name, e.g. image.jpg |
| Alt |
The alt text for the image
Defaults to the image name if not entered |
| Display | Enter 'yes' or 'no' |
| Image Number |
Used for image sequencing
Enter a number
New images are added in the same order as the spreadsheet |
| Colour | Use this to link a Colour to the image for eCommerce Filters |
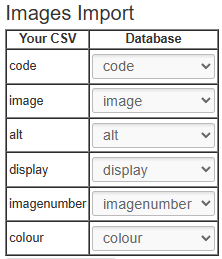
Mapping
You will need to map your data before it can be imported. Included below is the optimal mapping/spreadsheet structure.
Mistakes made here may have serious impact on your Product database.
Adding Images via FTP
Step 1: Preparing your images for upload
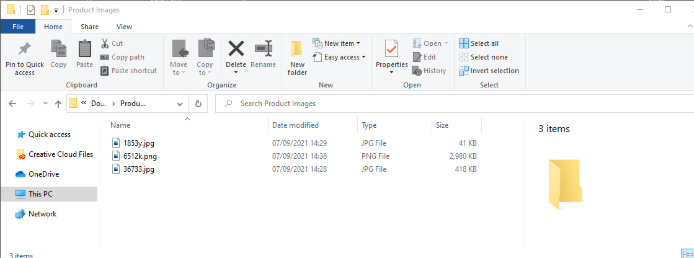
To use the IXO images CSV upload your image files are required to be in a single folder, it is also recommended that you name your image files as the product SKU to make Step 2 easier.
Example folder of product images prepared for upload:
Step 2: Creating the images CSV file
Fill out the example images CSV file provided by Iconography along with this guide as per the example line in the CSV.
Ensure the “image” field is filled with the file name and file type (png or jpg) exactly as it is in the folder you prepared in Step 1.
Step 3: Uploading your images
Upon opening FileZilla (free to download if not already using this system https://filezilla-project.org/download.php?type=client) you’ll see this screen.
The login fields are at the top to enter the details provided by Iconography along with this guide (contact us if you do not have logins).

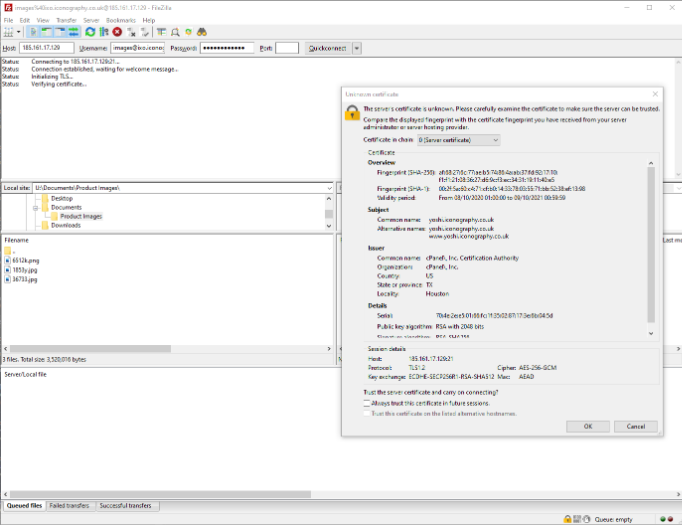
After clicking Quickconnect, you’ll get this window and you just need to click ‘OK’ to confirm you trust the connection.
You’ll then be logged in and can see any image files already on the server on the bottom right box and files on your computer bottom left box.
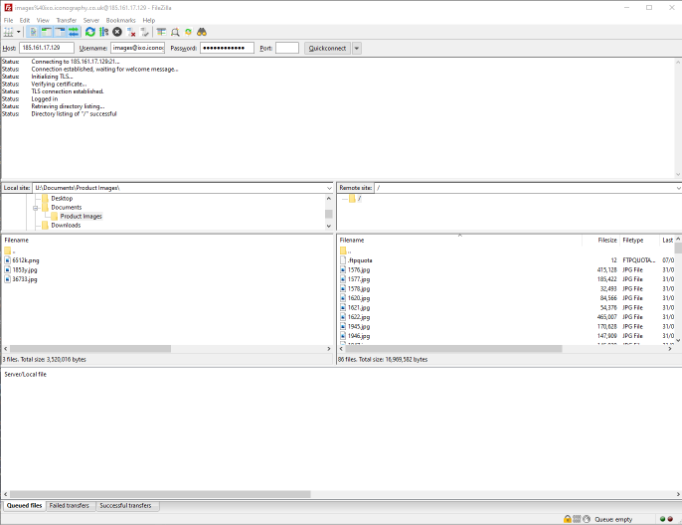
Next in the bottom left box navigate to the folder you prepared in Step 1 on your computer. Then select all the images you’d like to upload and drag them into the bottom right box.
In the bottom window it will give you an overview of the progress of the file transfer.
Step 4: Uploading the images CSV file
Upload your CSV via the CMS.