
Stock Take via CSV
A full history of Stock Takes will be found within the Stock History report.
There is a separate record of Stock Discrepancies.
Choose your Store and Location
1. Choose the Store to Stock Take
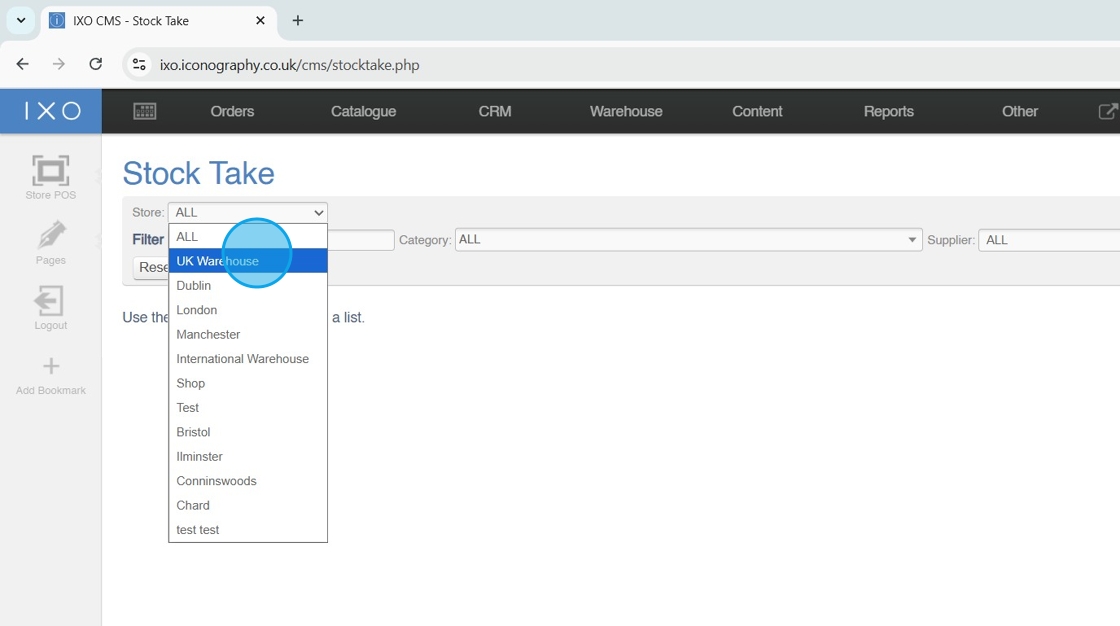
Tip: Filtering by Store and Location is mandatory
2. Choose the Location to Stock Take

Apply Other Filters
Tip: You can apply further filters to complete a Stock Take for a specific Category, Supplier, Brand or Collection
Alternatively, search for a specific Product to Stock Take
3. Apply your filters

Export your file
4. Click "Import / Export CSV"

5. Click "download as csv"

Update your spreadsheet
6. Update quantities as required

Tip: Stock adjustments will require a reason; enter these in bulk in column G
7. Enter new products/lines as required by adding the SKU Codes
In the case of USRs, enter the barcode (see below)

Upload your file
8. Click to select your file

9. Click "upload file"

10. Map fields and click "confirm import"

11. If you did not enter them in the CSV, you will need to add reasons for adjustments at this stage (these may be applied one at a time, or in bulk at the bottom of the screen)

12. Click "commit changes"

13. Click "ok"
